Greetings, Rainmakers!
This month’s State of the Platform includes some news about an update to the platform, a great client spotlight interview, some tips on autoresponders and more. Let’s dive in.
Platform Updates: RainMail Enhancements with Version 3.3.4
We’ve spent the last couple of weeks testing, calibrating and adjusting the new Rainmaker Platform version, and version 3.3.4 finally went live last Thursday. Most of this release revolves around enhanced RainMail functionality. You can see all the details in the Rainmaker Platform Andromeda changelog, but here are a few highly requested new features:
- Resend confirmation emails to pending email addresses
- Change “pending” subscriber status to “active”
- Integrate Ninja Forms with RainMail custom fields
- Create custom preheaders for RainMail emails
Many of these enhancements are based on feedback we’ve received from Rainmaker Platform clients like you. Please keep us in the loop — if you have questions, comments or ideas for new features, you can send us an email through the Help menu at the top of your Rainmaker Platform dashboard.
Client Spotlight: Bob Miner of Dynamic Traders
We’re continuing our client spotlight series with Bob Miner, owner of DynamicTraders.com and a longtime Rainmaker Platform user. We’ve turned our client spotlight into an audio show in partnership with Business Radio X.
Digital Marketing Done Right shares the stories of Rainmaker Platform clients like you. In this conversation with Bob, Lee Kantor and David Brandon explore what’s made him successful as a business owner, how he made the transition to digital, what marketing strategies are working for him and more. Don’t miss it.
https://rainmakerdigital.com/client-spotlight-bob-miner/
Want us to feature your site? We’d love to hear from you. Drop us a line at marketing@rainmakerdigital.com.
Tip of the Month: Take Advantage of Autoresponders
You’ve probably heard of autoresponder sequences. You might even be using them. But are you taking full advantage of what they can do?
An autoresponder sequence is a sequence of emails with each email triggered by a condition (signup, time passed, list status and more). You can automate many of your regular emails to your customers with an autoresponder.
RainMail has autoresponder functionality built in, and we’ve enhanced it over the years (it works best on the Andromeda version, which we continue to refine to make it more reliable and capable). You can use RainMail autoresponders to make your customer outreach easier and more effective.
There are a huge number of ways to use an autoresponder, including:
- Thank you. Let people know you appreciate them signing up to a list, and perhaps include a free resource or a code for money off their first purchase.
- Product delivery. Send an email when people buy a product, often follow-up instructions, details or cross sales.
- Tips and tricks. Get a series of emails with useful content when you sign up for a list. This is an easy build-it-once, send-it-forever technique to keep your message in the top of your audience’s inbox.
- Sales. Send your prospects a series of emails educating them about your products or services.
- Courses. Share a course with people who sign up to a list. The autoresponder could BE the course or it could just be a taste test to drive people to register for the course.
The simplest autoresponder is a single email that sends when a user signs up for a list. You can add to a simple autoresponder by creating more emails that send at set time intervals.
But if you want to get more advanced, you can utilize conditional logic to create autoresponders that change based on people’s actions. A sales or course autoresponder can build your customers’ understanding of your offer, then drive them to a new list or a buying decision. The most advanced autoresponders aren’t just single sequences — they’re networks, nested paths that offer multiple off-ramps to a sale.
Getting Started with Autoresponders
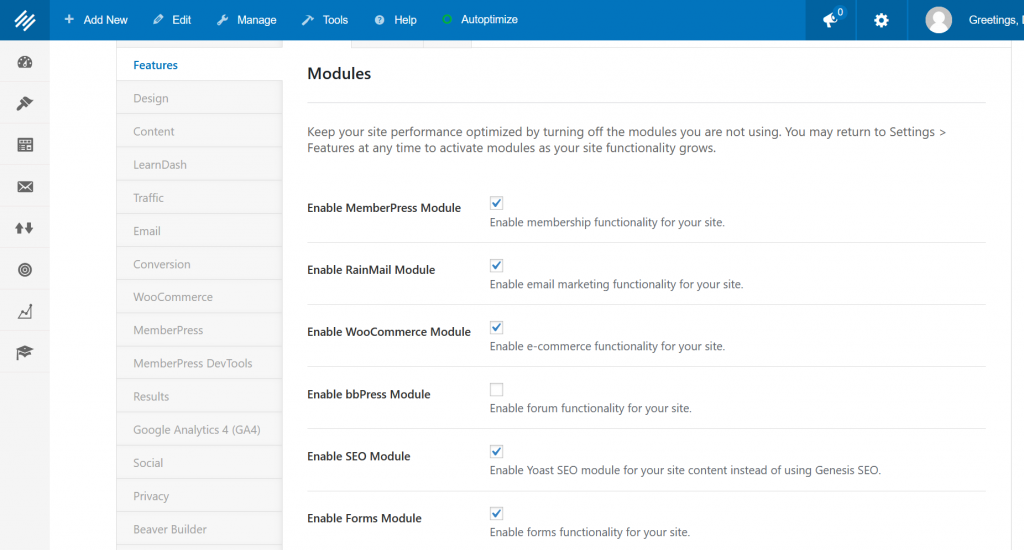
Want to use autoresponders with Rainmaker Platform? Make sure you have RainMail turned on first. In your site Admin, go to the top toolbar and mouse over the gear icon in the top right corner. Choose Features in the drop-down menu.
You should now be on the “Modules” tab. Make sure the check mark next to “Enable RainMail Module” is checked.
Scroll down to the bottom of the page and click the blue “Save” button.
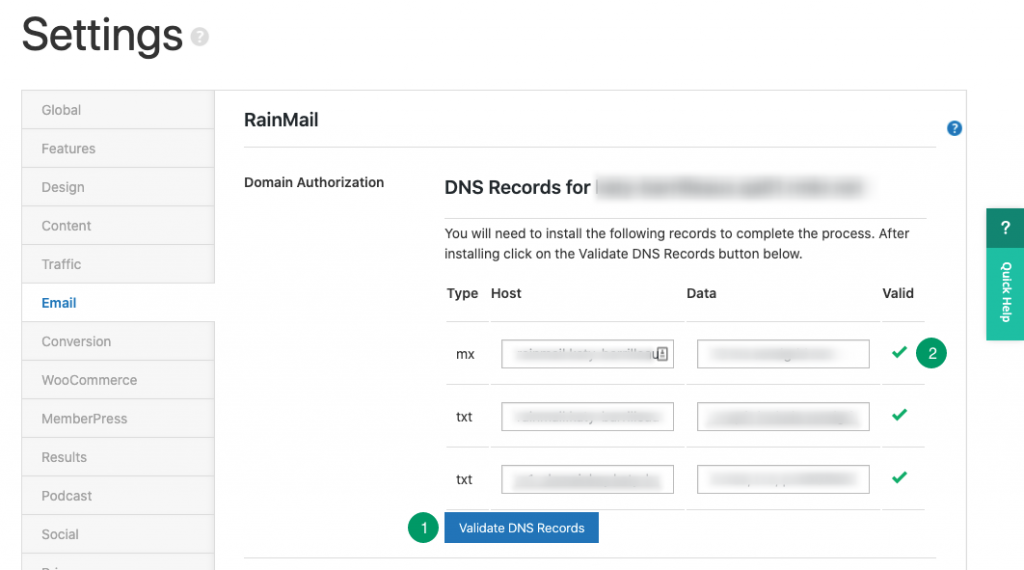
Just a reminder: you will need to talk to Rainmaker Digital Services to set up the DNS records to use RainMail. You can learn more by reviewing “Getting Started with RainMail” in the KB or get assistance by contacting Support.
Once you’ve enabled RainMail and validated your DNS records, you can use RainMail on your site. That enables your autoresponder messages, which you can now set up through the “Autoresponders” screen.
One of our previous State of the Platform posts had a video walkthrough on how to set up an autoresponder, and I can’t re-state it any better than we did in that video. If you’re just looking to get started, watch this — then come back to the article for a few extra details, tips and tricks.
Take Your ARs to the Next Level
There are a number of ways to enhance your autoresponders. We’ve been keeping tabs on some of the ARs our clients are using, and there are opportunities you might be missing out on. Here are two ways to take your autoresponder sequences to the next level:
Use Conditions
You can set conditions for your autoresponder to specify actions. Most autoresponders send a sequence of emails based on a delay, but with conditions you can make sure that only the people who still need the rest of the sequence get it.
This is most useful for a sales sequence, where you’re trying to sell the same product or service in every single email and there’s no need to send any more emails in the sequence after you’ve made the sale.
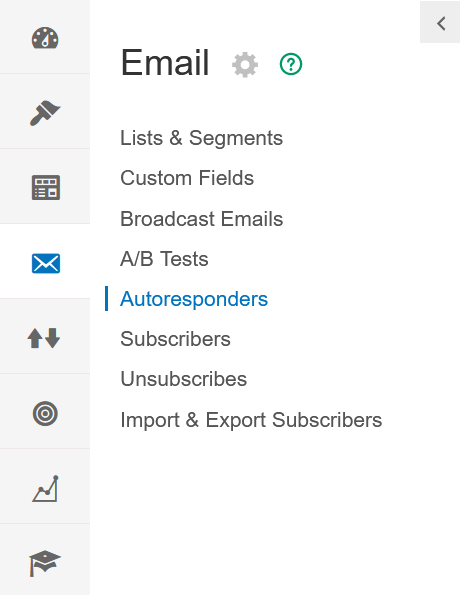
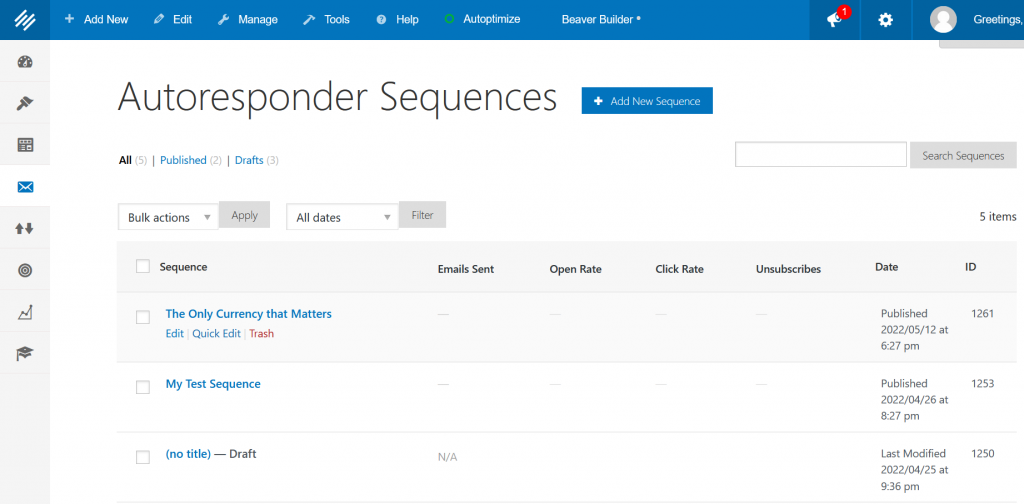
To get started, go to the left menu and click Emails > Autoresponders.
Then click the blue button that says “Add New Sequence” in the top middle of the screen. You could also edit an existing sequence by clicking the “Edit” button for that sequence.
You’ll have to choose the type of autoresponder you want; in this case, we’re doing a blank one (reference the video if this is unclear). Now you’ll be editing the new sequence.
Mouse over the autoresponder email you want to edit and click the little icon that looks like a crowd of people.
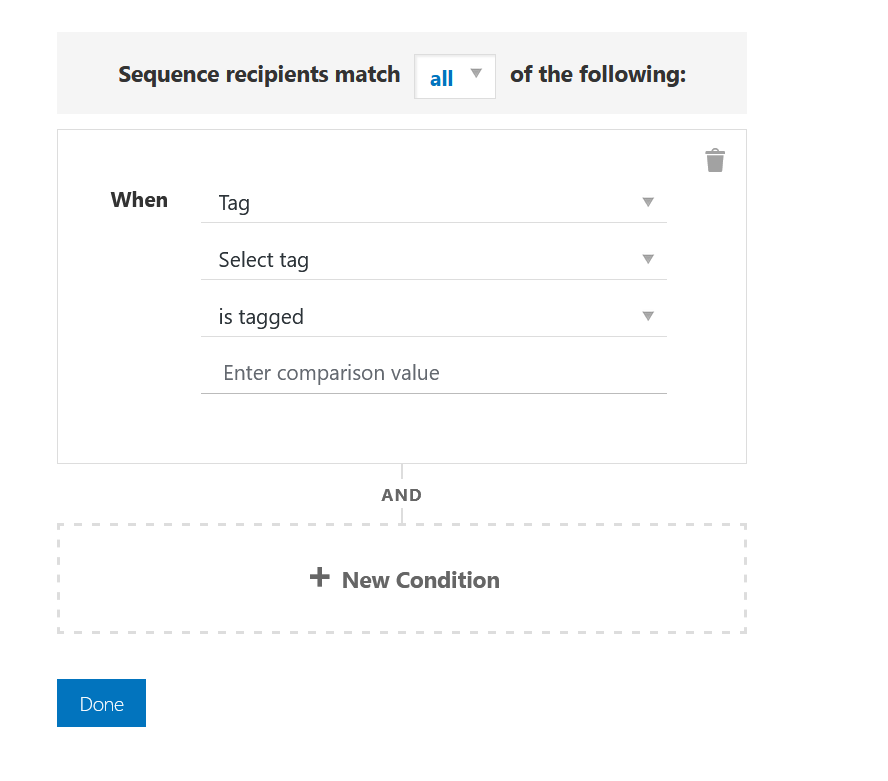
From this screen, you can adjust the conditions for this email to send. If you have any sort of programming background, you’ll probably be familiar with the syntax.
The first thing you’ll notice is the drop-down at the top. It has two options: “All” and “Any.” “All” means that every condition you add here has to be satisfied for the sequence to send to a subscriber. It’s usually used to narrow down the list. “Any” means that if a subscriber meets any of the conditions you’ve described, they’ll get the email.
Next we’re going to look at the first condition. You’ll notice the word “when” — this takes the form of a statement. “When X is Y, Z happens.”
The first drop-down box has two options: “Tag” and “List Status.” You can use tags to manage your email lists; these can be added when someone signs up for an email list. It’s a small extra piece of information that you can choose to add to a sign-up form. “List Status” is an indication of whether or not someone is signed up for a specific list.
If you’re narrowing by tag, you can choose the tag, then choose a variety of statuses — whether they’re tagged or not, if a numerical tag is above or below a certain number, and more. If you’re narrowing by status, you have two options: subscribed or unsubscribed.
Here’s an example of how you could narrow down your list. Say you’re running a sales list — you have five emails, all of which are aimed at selling your product. You want to make sure people don’t keep getting the sales emails once you’ve sold them.
To start with, you’d either create a tag tied to the sales form or add your subscribers to a different list when they buy. This gives you a way to tell whether they’ve bought your product or not.
After that, add your conditions to every email after the first to make sure no one that’s already bought the product gets an AR email. Choose “all” on your conditions. You want to make sure they don’t get the email, so whichever identifier you use (list or tag), choose the correct status: “is not subscribed to” or “is not tagged.” That allows you to narrow down the AR.
Autoresponder conditions can get complex fast; if you need a hand, reach out to us. We’ll help you create one that works for your business.
Add Subscribe/Unsubscribe After
One of the most important and least used tools in autoresponders is “Subscribe/Unsubscribe After.” This allows you to add people to a different list after the autoresponder is complete.
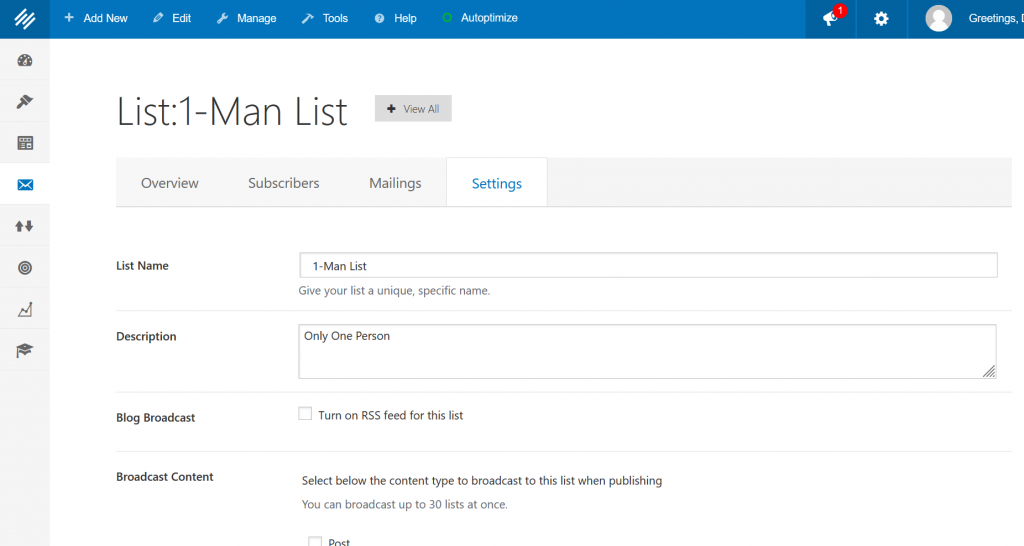
To start using this tool, go to “Settings” on your autoresponder sequence.
Look at the setting that says “After Sequence Completes:” and choose the lists you want them subscribed to.
If you’re using this feature, unsubscribe them from the autoresponder list that you currently have them on — then subscribe them to a new list. The new list is usually your newsletter list or something else that offers regular content. You can also subscribe them to another autoresponder, creating vast nested arrays of funnels.
Don’t miss out on this feature. You can use autoresponders tied to every sales or lead nurturing list you have to drive people to your regular email newsletter; this is a powerful tool for ongoing customer engagement.
The Big Caveat
There’s one big caution we have for you: don’t change or stop an autoresponder while it’s in progress.
We have clients who want to delete or adjust an autoresponder while it’s going. This can cause a multitude of problems, as people may have received some of the emails but not all, and they might be stranded in the middle of a sequence.
There are a number of ways to address this, but it depends on your autoresponder and what you’re doing with it. Reach out to us and let us help you make the adjustment.
Use Autoresponders Effectively
Autoresponders are powerful tools in your content marketing arsenal. Make sure you’re using them effectively. If you’re not using them, see our previous guide to get up to date — and if you’re already using them, use our latest tips to maximize what you get out of them.
Thanks for being a Rainmaker Platform customer. We appreciate your ongoing support. If you need a hand with anything, we’re here to help. Just drop us a line, anytime.
Best Regards,
David Brandon
Copywriter
Rainmaker Digital Services
